“Hi, my name is Stefan and I’m a game developer, working mostly with gameplay, tools and shaders. You can find all of my work samples here, there’s a CV page for all that serious stuff and an About page if you want to know more about me.
Welcome to my portfolio!”

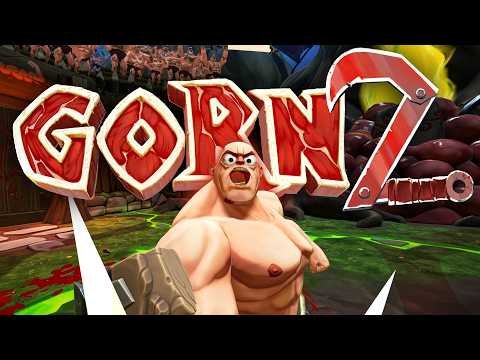
GORN 2
This is the biggest and best project I’ve worked on so far - the sequel to the original king of VR games: GORN!
This was so much fun to work on and I learned so much about reactive programming, behavior trees, 3D math, physics and more.

Escaping Wonderland
I worked on some smaller gameplay features for this VR game, most notably a whack-a-mole game and a shooting gallery!
Read more at: https://www.meta.com/en-gb/experiences/escaping-wonderland/6146292702126753/

Kloot Arena
A very fun PvP game for mobile that I worked on for a while, implementing different player abilities and UX elements, among other things.
Read more at: https://itatake.com/portfolio/kloot-arena/

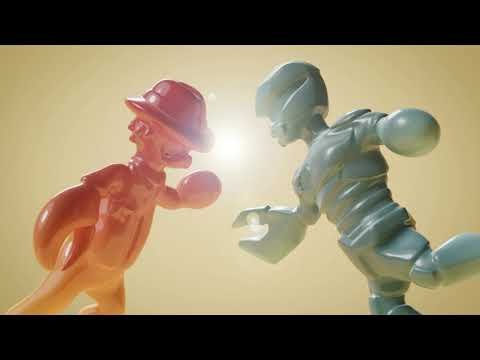
Gumslinger

Toca Life: World

Toca Life: Neighborhood

Toca Life: After School

Toca Life: Pets

Toca Life: Office

Toca Life: Hospital

Toca Life: Stable

Toca Life: Farm

Toca Life: Vacation

Toca Life: Town

Toca Life: School

Toca Life: City
Gorn 2
This game was just announced (Feb 28th, 2025) so I don’t want to share too much behind-the-scenes info just yet, but I’ll leave this section here for a future update once it’s been released.
Meanwhile, you can check out the trailer!
For now, I‘ll say that while my hands are all over this project, some things I worked on are:
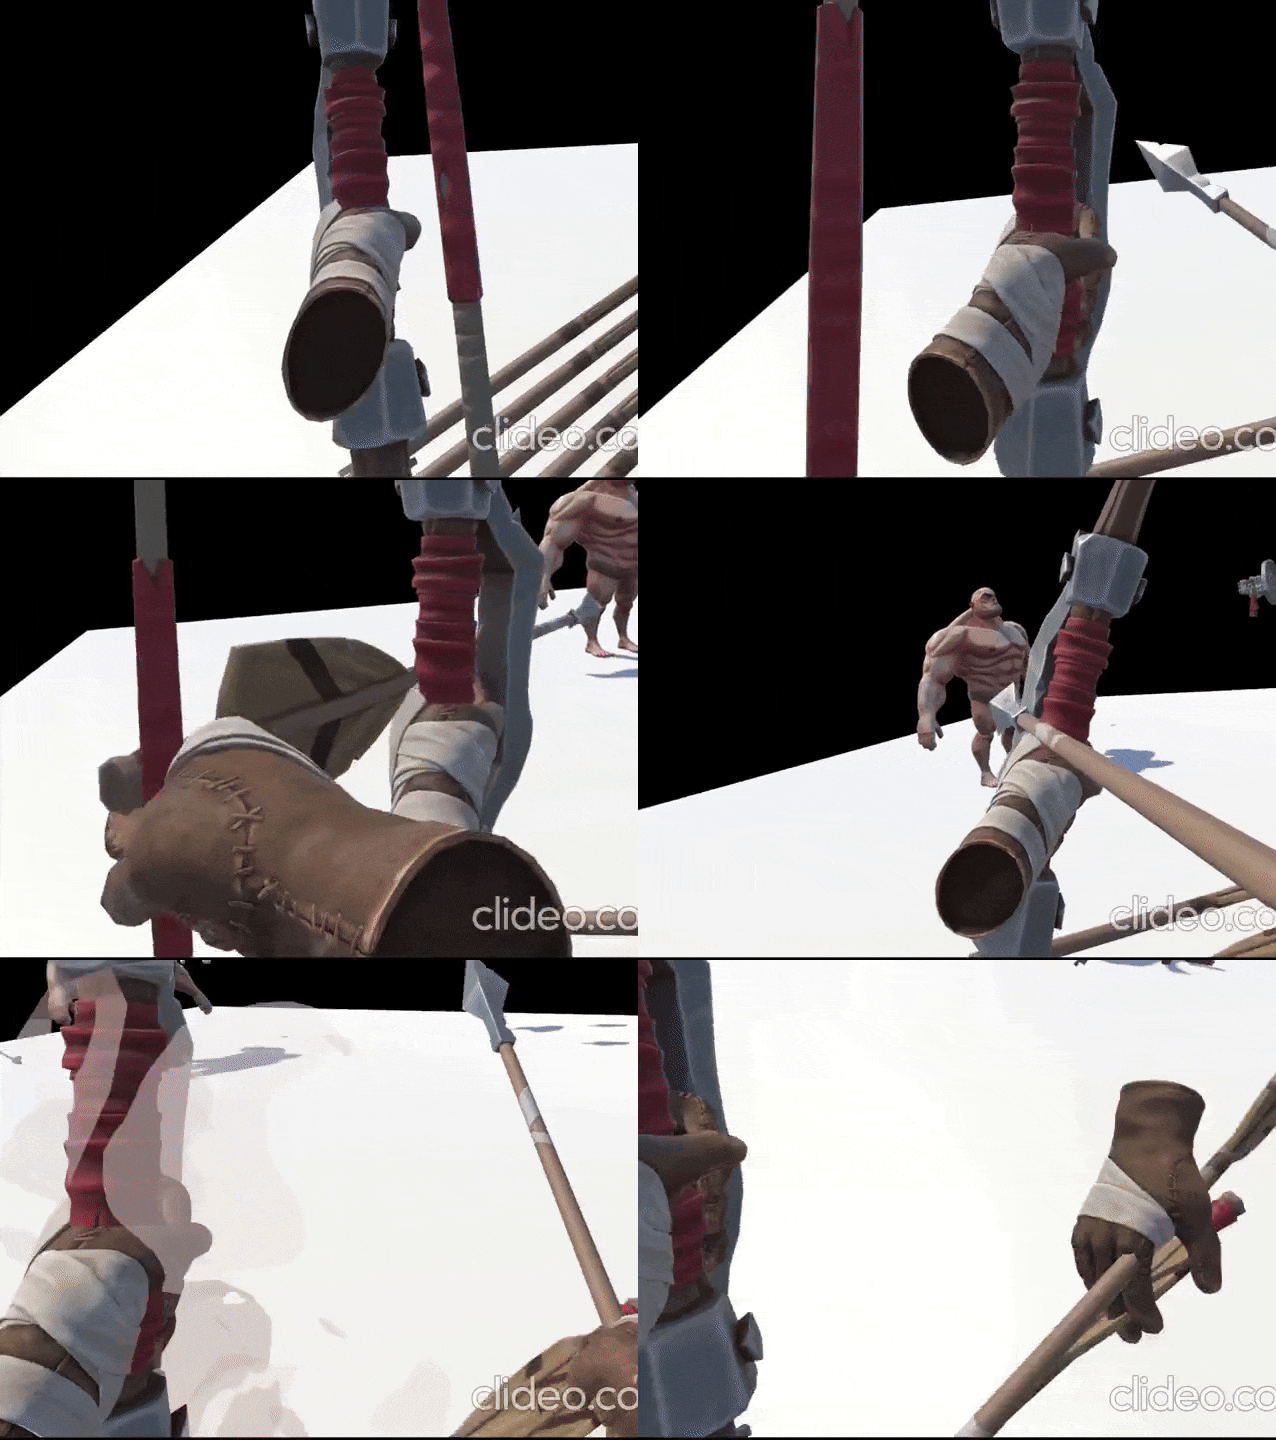
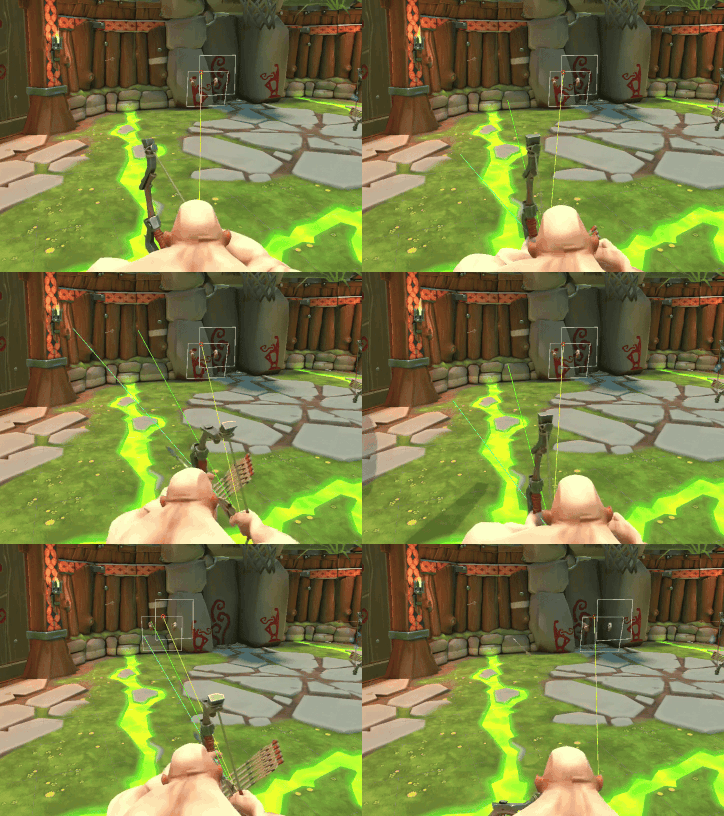
the ranged weapon system (e.g. bow, nailgun)
weapon handling for physically simulated NPCs - both ranged, melee and two-handed melee
boss behavior
slicing characters
facial expression and point-of-interest system
It was an incredible learning experience as well, as the whole project was structured to be moddable and easy to use for designers - to facilitate this, we used a lot of reactive programming using a custom-built framework as well as our own behavior tree system. While I had worked on 3D games before, this took it to the next level - requiring a lot of math and physics, which was really exciting and fun!
UNTITLED PROJECT
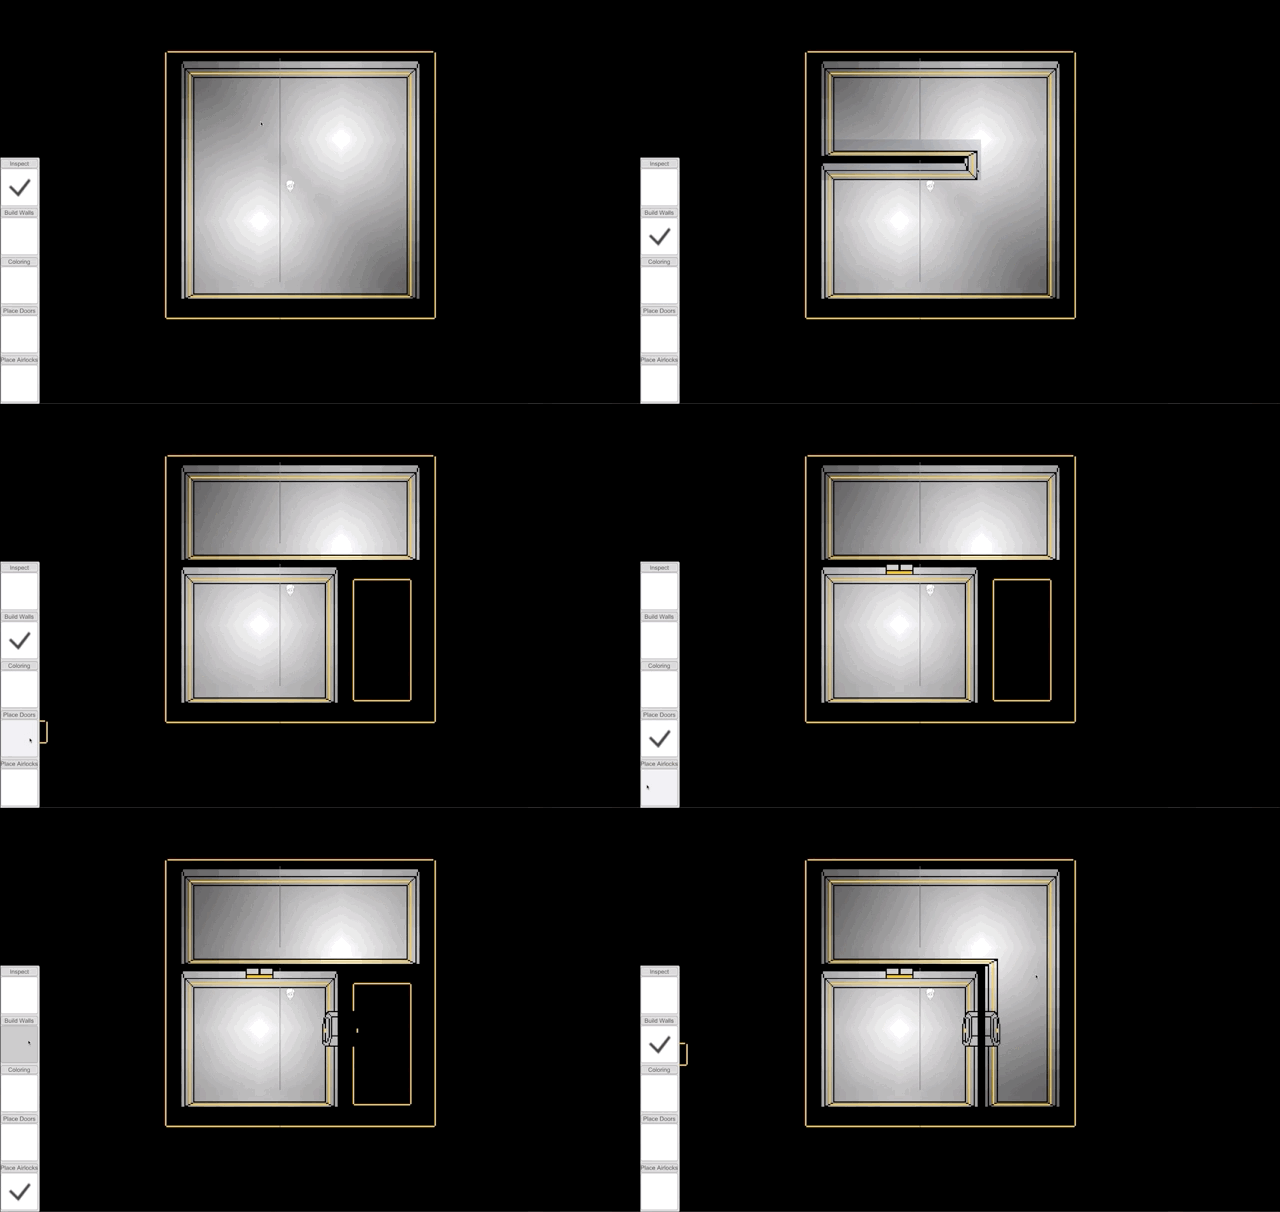
This is my private project that I worked on in my spare-time for about three years. I wanted the player to be able to create an indoor environment with as few restrictions as possible, while still keeping it as a normal, uniform grid - for my own sanity’s sake. I had to make a lot of compromises in the end, but I think the result, while not completely finished, still turned out pretty nice. I’ve written some stuff about the more interesting features below.
In the code, the grid is represented as a simple array like you’d expect, with each entry representing the corners of the tiles. In Unity, however, the grid is a large mesh where four vertices make up each corner and one vertex for the center of each tile. This is so I can store all textures in one spritesheet and assign UVs to each tile without interfering with neighboring tiles, while the center vertex simply helps with smoothing out the lighting and another, unfinished, system for chemicals moving across the grid.
The build tool snaps to the corners of the tiles and sets whether or not that corner has a wall - note that the four vertices per corner do not matter in this case, that is only for graphical purposes. At the end of each frame, I modify the UVs of the mesh to display the correct parts of the sprite sheet.
Originally I was very adamant that the player must be able to build diagonal walls - no similar game I’ve seen supports it, so why not? As it turns out, it is… very complicated. Not difficult, per se, just annoying. The first problem is that it increases the amount of code and possibilities by an order of magnitude. The second problem is the unless you’re okay with a 100% top-down art style, you can not make a diagonal wall while keeping the graphical asset within a tile. I had this solved for a long time; before the current iteration of the grid, I had each tile be its own mesh. Then I could simply extend that mesh upwards and sort upper tiles further back, so that the tiles were placed like shingles on a roof, thus enabling tile graphics to stretch above its upper neighbor. The problem, again, is that this adds a lot of complexity, and while struggling with the lighting tool, I realized I could make my life a lot easier by simplifying the grid - and so, the diagonal walls had to go.
As you can see, you can also place doors and airlocks which can only be placed on existing walls. These also support animation for when a character is passing through.
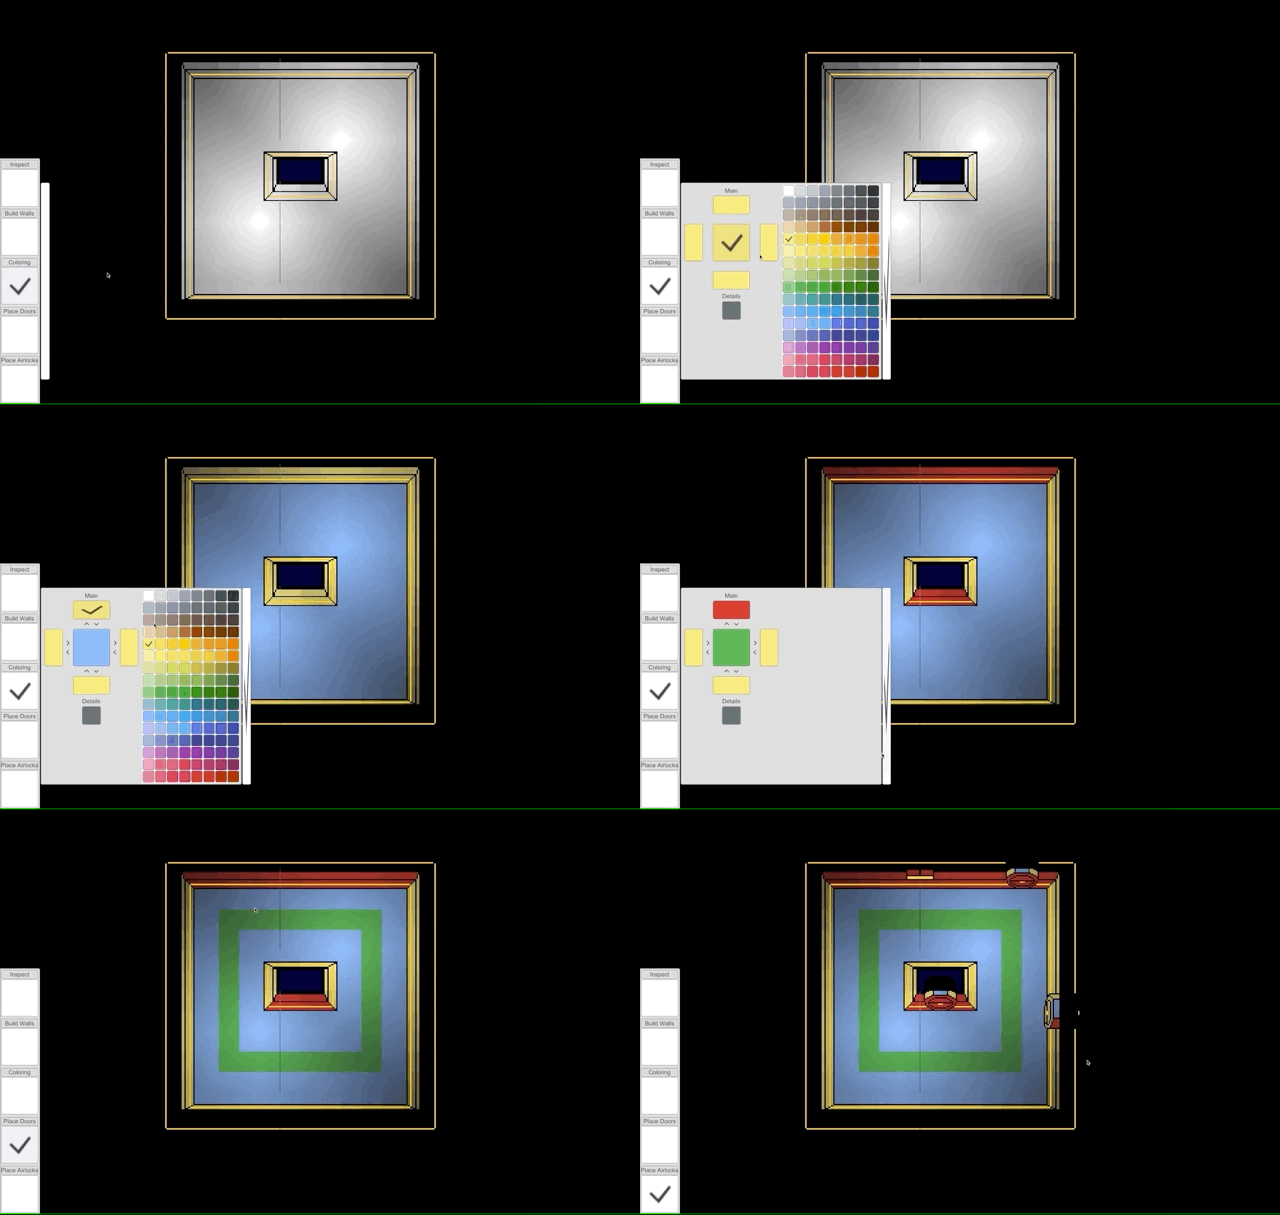
I wanted the user to be able to paint any surface they had laid out - seeing how there’s no 3D surfaces this presented an interesting problem. This tool was also designed before I basically rewrote the grid code from scratch, so it’s literally designed around some technical limitations that no longer exist…
As I mentioned above, before The Refactoring™ each tile was its own mesh and the visual grid corresponded 1:1 to the grid array handled in code, which does sound like the obvious approach to making a grid - or, at least it did to me. The problem with that approach is that if you then label a tile as a wall and then try to paint or apply lighting to that tile, both sides of the wall will be affected, when what you really want is for colors and lighting to be confined to whatever room they’re actually in. It took a long time before I realized The Refactoring™ wasn’t as big of a project as it first sounded, so I worked around this limitation.
The solution was to add a new texture to the grid which divided up the parts of sprites into different colors depending on their cardinal direction. When the user paints, I could take the index of the color used (128 colors available) and send it to the GPU through the tile’s UVs. Once there, I could check what cardinal direction the current pixel had and apply the selected color. By the way, this is also an excellent training exercise in finding the optimal texture format for your task and preventing floating point precision errors…
There was the obvious annoyance that you couldn’t just paint a wall - you had to also select all the other colors you wanted for stuff on that tile - but my reasoning was that maybe you’ll just paint the room as a whole when you’re done building it.
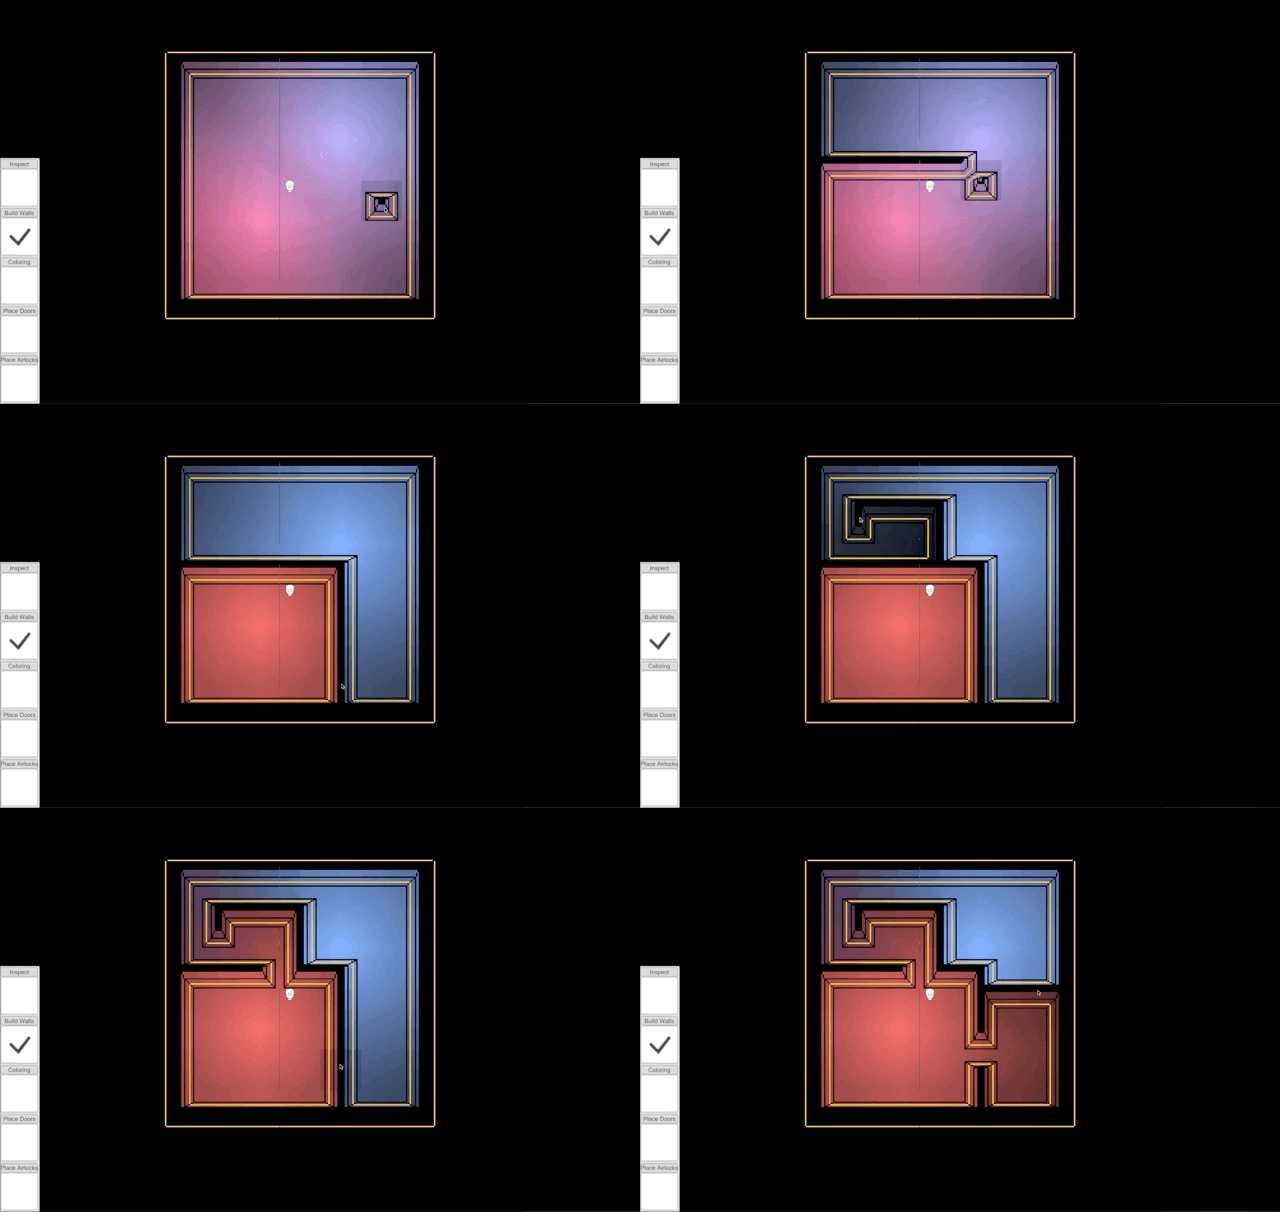
I worked on a lighting system for a long time. I had zero experience with anything similar, but it intrigued me so why not?
The first few months I tried different ways of radiating out light values from a tile and even a kind of… poor man’s raytracing, basically raycasting and checking whether the ray hit a wall or not. The results ranged from terrible to maybe-if-you-squint. A constant frustration was that unless I blurred it somehow, the lighting would look really blocky - it works in Minecraft but I wanted something a lot nicer. So, I worked on blurring - that too, looked awful. There was also the problem I mentioned before; if I set a light value on a tile, and a tile can be assigned as a wall, then what prevents the lighting from being on both sides of the wall? This back-and-forth approach with different ideas and no one to bounce ideas with took up about a year and when I finally thought I had cracked it, worked on that solution for two months and again it failed, I quit.
Six months later, the idea of The Refactoring™ struck me and I went back and tried it out, and lo-and-behold, it made lighting much smoother and the project much more compact. Being away for six months also does a lot to negate the sunk-cost fallacy and helped me to just gut years of work.
I still had one problem though; the lighting looked nice, but the cutoff was pretty sharp around corners, which didn’t look great. And then my little avatar just… walked around a corner. What if lighting could do the same? So, instead of doing some light value calculation, I just made the lamps call the pathfinding algorithm used by characters and… it worked!
Toca Life
Here are some features I’ve worked on for Toca Life - a roleplaying app where you do pretty much whatever it is you want to do. Grab some characters and mess around with the world!
I first made a Draw Surface for Toca Life: School in 2015. It was based on a free plugin which I stripped down for parts and vastly simplified (one brush, one color). In 2017, however, we decided to flesh it out and re-use it for Toca Life: After School.
The original Draw Surface was incredibly slow as it would send every touch straight to the GPU and a stroke was made by simply repeating a million (more-or-less) touches. So, first out was making sure that all painting was applied to an array that would be sent to the GPU on a specified interval if necessary.
Second, the line drawing was replaced with a new algorithm - although unfortunately I didn’t know Bresenham’s line drawing algorithm was a thing at this point. Basically, I find the top and bottom pixel of the current and the previous registered brush stroke, I rotate those positions around the center of their brush strokes, and store that as a rectangle for later. I create another, non-rotated, rectangle between the brush strokes - i.e. using the strokes as the corners - and iterate over the pixels inside, then check for each pixel whether or not they’re inside the first rectangle; if so, they are painted.
The performance boost was significant, and the quality was vastly improved since we could afford upping the texture resolution - although scrapping support for iPod Touch 4 (?!) also certainly helped. A huge downside, however, was that if you drew a line diagonally you would get a bigger lag spike the faster you drew since that would increase the distance between brush strokes one frame apart, and give the algorithm an absolutly massive rectangle to process! Note that this isn’t visible in the gif, because I accidentally recorded it using the latest version of the app.
I also added the spray can brush, which uses Perlin noise and, if using the smallest brush size, can randomly drip down. This is done by selecting 1-3 random points along a brush strokes horizontal plane and creating new fake touches moving slowly downwards from those points.
Finally, I added a printing machine that allows the user to export the texture onto a painting item that they can bring along for art shows and what-not.
Two years after the last Draw Surface improvement I got the chance to improve it even more for the University Playset in Toca Life: World.
Since we were doing a chalkboard this time around, we wanted to add a chalk effect to the standard brush. The idea was to use Perlin noise on the edges of the brush, like the spray can from before, except the spray can didn’t actually use the line drawing algorithm at all… So when it came to mixing those two features, I realized it would be both hard and expensive to find the center of a line from the pixels perspective using my old algorithm. I first tried implementing various Thick Bresenham’s algorithms to replace it, but without success. I then decided to try simply drawing multiple vanilla Bresenham’s between brush strokes, and after fixing some kinks with pixels being missed, it worked and yielded far better performance, independently of how fast you were drawing!
Some other nice additions are particles emitted when erasing and much less buggy handling of sound effects.
The Elevator sounds simple enough on paper, but OH BOY. In our saving system, we have a dictionary for each scene, that contains the unique ID:s for each object in the scene. We also have a dictionary for our Sidewalk feature, that allows you to access characters in any scene, but it’s not a scene so positions are irrelevant and hierarchies are handled very differently. But here we have the Elevator, which is basically a scene, since you can place stuff on it like any old floor!
I ended up solving it by making scenes connected by Elevator share an Elevator scene. When an object is placed in the Elevator and the game saves, the objects are instead saved in the Elevator scene’s dictionary which is then accessed by the connected scenes when loaded (the Elevator is always available from all the connected scenes, so it’s more like a connected space in that sense).
The hair machine was actually the first thing I worked on after joining Toca Boca! The idea is that you place a character in a chair, select a hair cut, then either tap or drag the head cover to apply the new do to the character. The code is… not very nice to look at, but the end result still looks nice.
Included in developing the feature was also figuring out how to switch hair on characters, since that was something we didn’t yet have support for. I solved it simply by creating a list of all hairstyles in what’s essentially our “game manager” object (although we try to avoid that nowadays) and giving each character a value to track what hair to use, which you can simply change to change the haircut.
Fluid Simulation
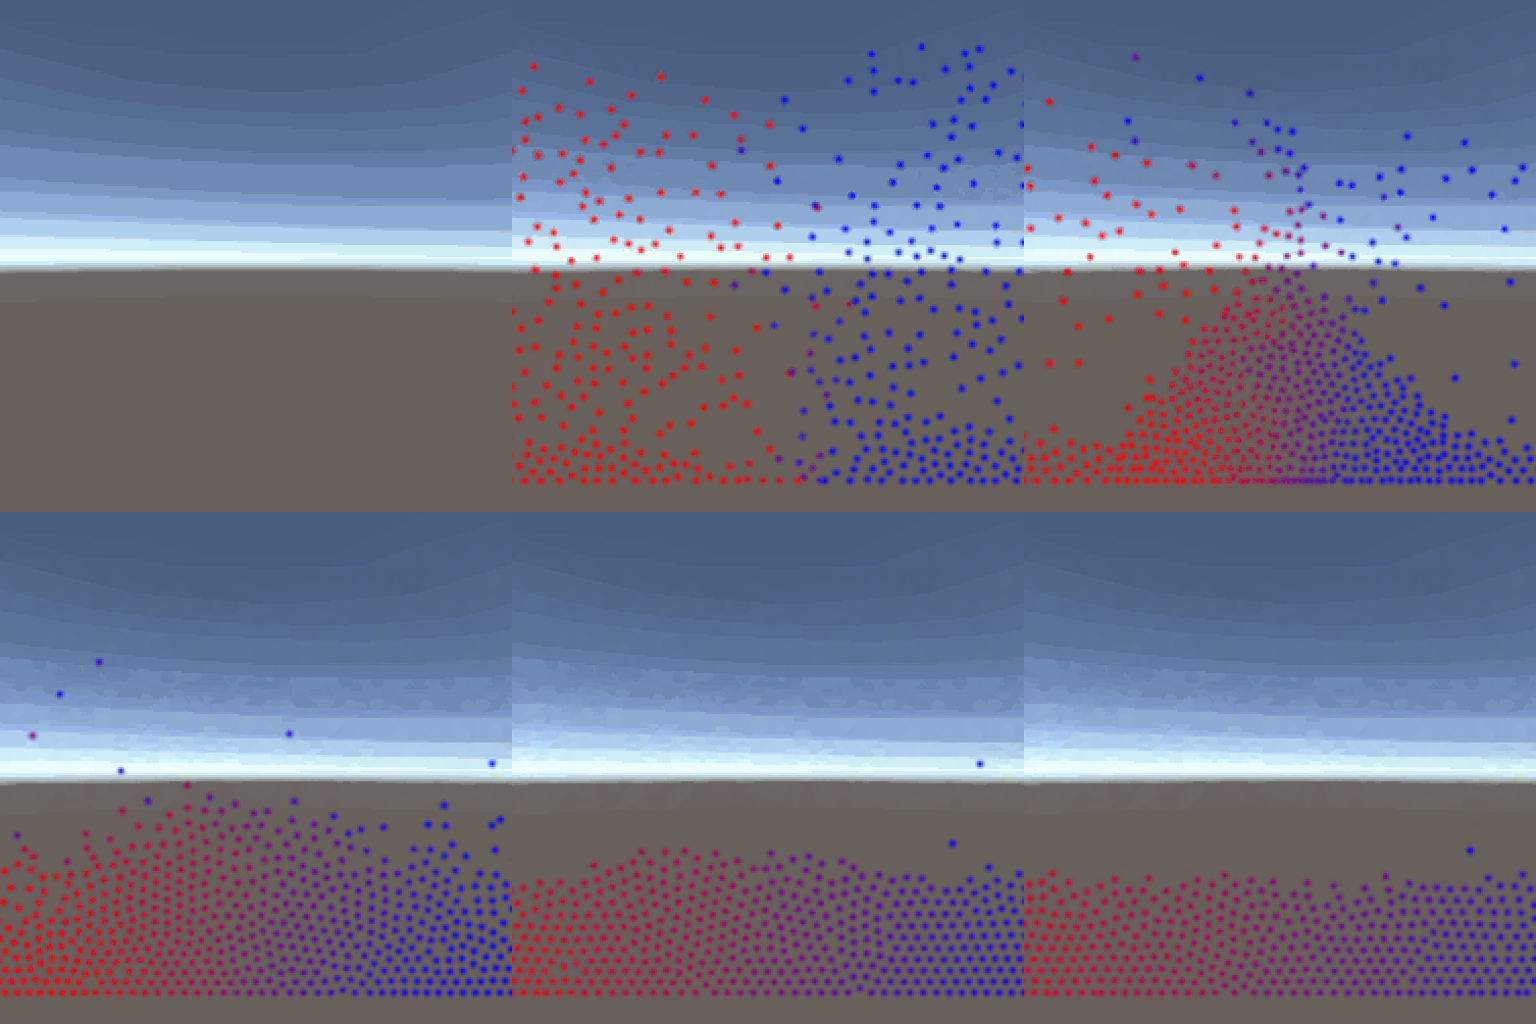
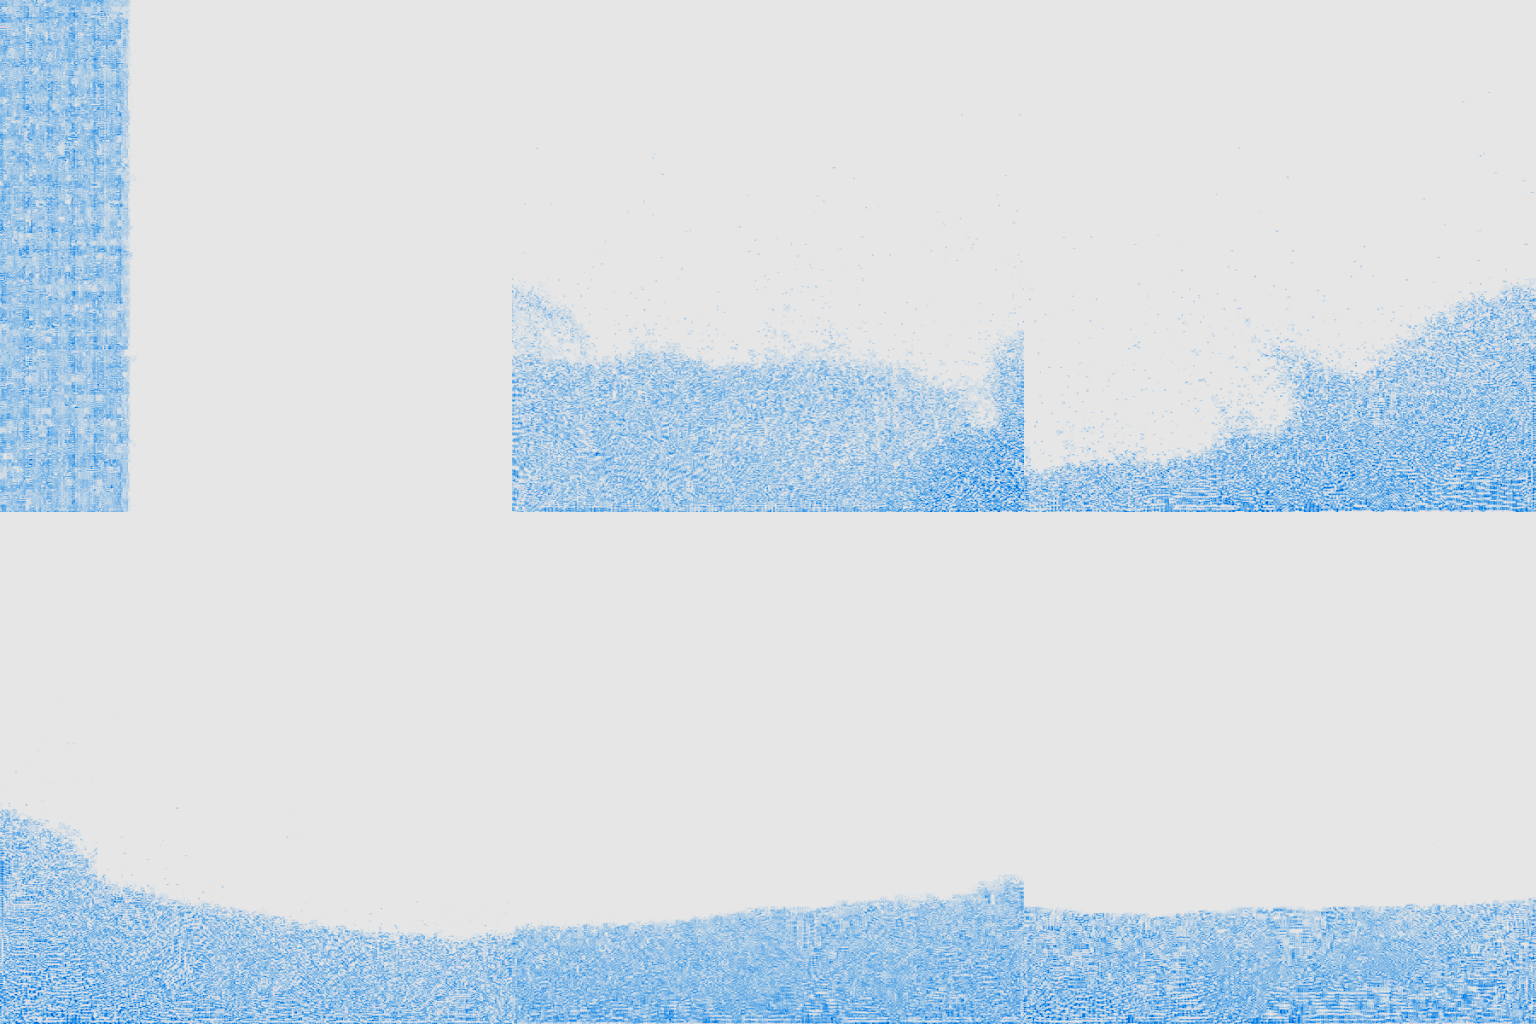
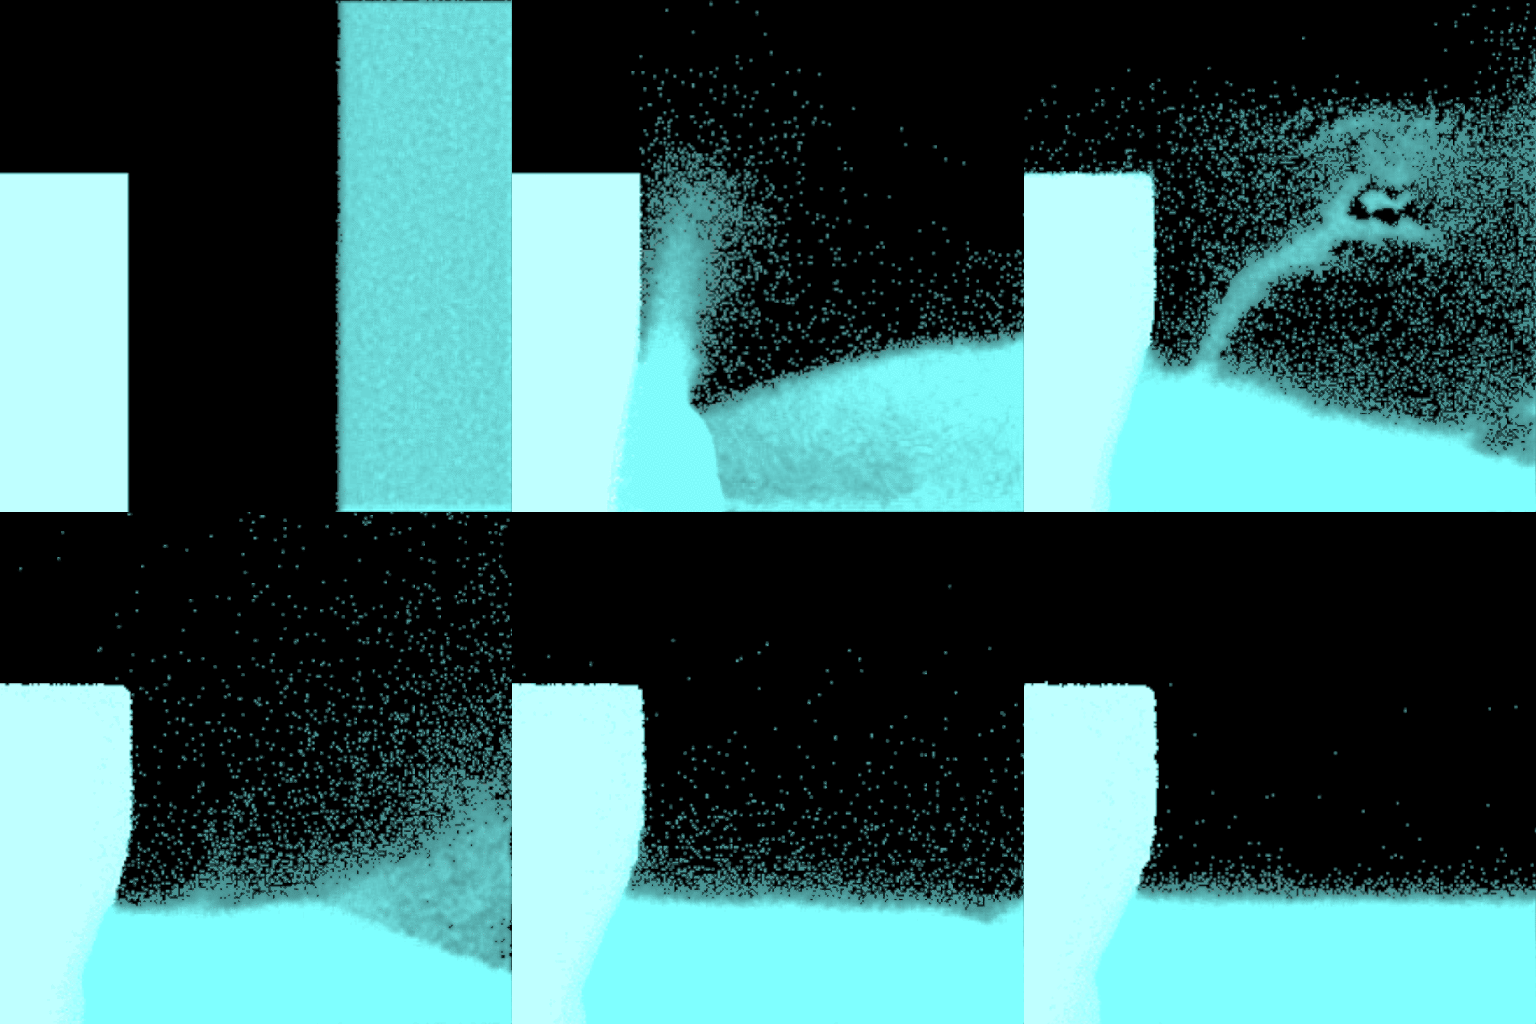
Here is a project I worked on that started as part of the Untitled Project but ended up as just a good learning exercise! I found an old implementation of smooth-particle hydrodynamics in Java which I rewrote to C#, then converted to HLSL after learning how to use compute shaders.
While a lot of the basics were already made for me, something that was completely missing, and surprisingly hard to find any info on, was temperature - which makes sense, I guess, but for my purposes it would be a lot neater to have temperature represented as values propagating through the fluid. Getting that to work was fairly straightforward once I understood how to work with multi-threading, then I simply adjusted the properties of the particles depending on their current temperature, so that the liquid could freeze and boil.
Something I learnt the (very) hard way is that particles in SPH will tend to get stuck in each other when they get too close, which means you have to tweak your settings to avoid pressure getting too high anywhere. I couldn’t find any information on how this is usually handled, so I just added an extra force field around particles to keep them apart. It works pretty well, but because I didn’t know what kind of pressures to expect in a game setting, I spent probably months tweaking the particles to survive as high pressures as possible. And that is another huge drawback to SPH - the algorithm is so sensitive to any changes in settings that it takes a long time to calibrate and if you then realize you want to change the scale of your simulation, you have to start over.
After making some serious optimizations, I was able to have huge amounts of particles. In this gif, I suspect I’ve simulated 131.072 particles at 100 fps, although it’s been a while since I last touched the project so take that with a grain of salt. It should also be noted that I’ve sped all the gifs up a fair bit. It turns out that even if I got the fps to a good place, having particles move faster meant less precision and so the whole thing would break down.
At most I managed to push it to 262.144 particles at 60 fps on PC but unfortunately Unity appeared to freeze if I increased the size of the grid any more, so the end result was kind of messy.
This is the final result and where I decided to stop. On the left is a block of ice and on the right is lukewarm water.
Now if you’re keen-eyed, you might’ve noticed there are a lot fewer particles than in the last gif. Well, no. And yes. What you’re actually seeing are the bins containing the particles and each bin can contain up to 16 particles. As you can see in the other gifs, the particles are quite far apart from each other (due to the aforementioned force field) and using the bins for visualization and the amount of particles in a bin as alpha turned out to give a much better-looking result with less performance overhead than something like metaballs would.
Lootbox Worktest
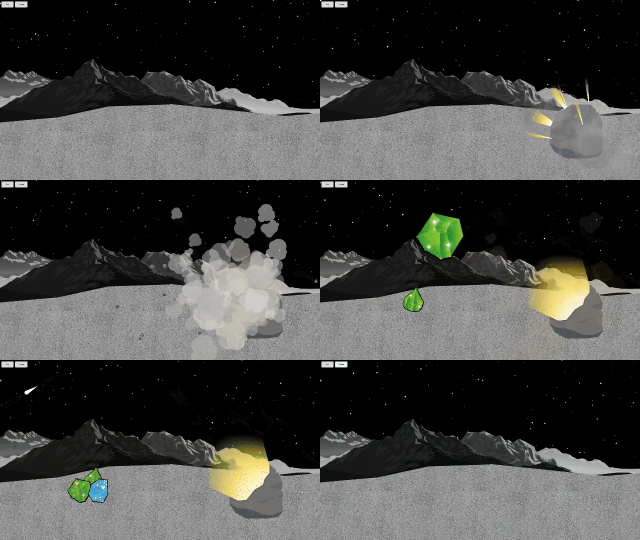
This was for a worktest I did, applying for a position as a Tech Artist. The assignment was to create a scene where a lootbox appears, the player opens it, is presented with the contents and then you can choose to reload the scene. Preferably with some unique setting, so, I chose space!
Here is the whole sequence from start to finish.
I didn’t put too much effort into the actual graphics as I wanted to focus on the animations, shaders and particles, so most of the assets are just random images found online that I’ve modified to fit the style better.
What isn’t super clear in the gif is that there are three tiers of gems (two of which are visible in this case) with varying rarity, which also affects the particles as they slam into the ground. As you can see, the blue gem has a much more forceful impact effect.
If I had to pick something I could do over, it would be remedying the complete lack of DOTweens. That was an intentional decision on my part as I wanted to focus on shaders and manual animations and DOTweens were explicitly mentioned in the instructions as a nice-to-have, but as it turned out, it was still expected that one should make use of them. Oh well.
I also realized a bit too late that space is not the best choice when it comes to making a juicy presentation as it is quite bland by default…
But what I think turned out especially well is the transition effect at the end, which I spent a relatively large amount of time on, as well as the animations and impacts of the gems. It had been years since I last touched the animation tool in Unity before working on this, so I expected to do a lot worse, but I’m quite pleased with it!
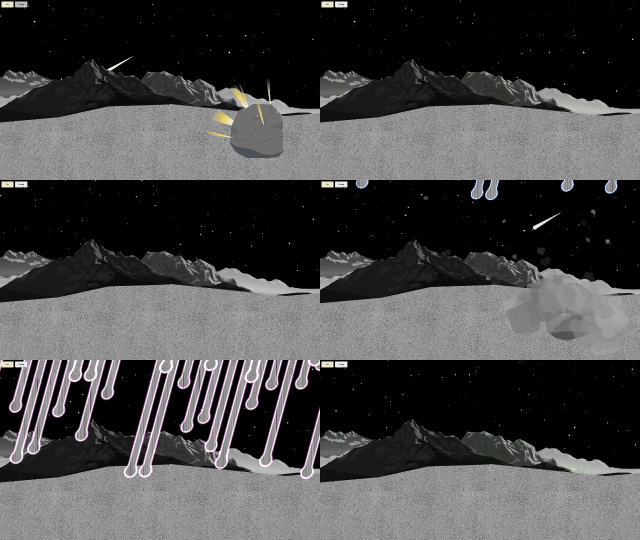
Here’s me triggering the reload transition a couple of times in a row.
When the user presses the tiny Reload-button in the corner, a grabpass is taken, after which everything inside the scene is reset to its initial state. Using a meteor-texture and some simple math, I check whether each pixel should count as inside a meteor-stripe or not. If so, I apply some random color multiplied by a gradient in the meteor texture. If not, I simply render the grabpass taken before everything reset. And, voìla!
Unfortunately the grabpass does not include the previous meteor-effect, if present, which would’ve been fun - but I can’t remember if that was a technical limitation or not.
Unity Tools
Here are some tools I’ve made for various purposes!
Working on Toca Life, we have a lot of characters to implement. I believe the latest figure is around… 450 and growing? It’s also not uncommon for someone to get a detail wrong, like the hair color, especially when that information is passed from artist to developer who then has to manually input it, which would also take a lot of time.
With this in mind, I created a tool to give the control back to the artists by letting them input the character info into an online spreadsheet which can then be downloaded and processed.
To use it, first, if creating a new character, a developer uses the old tool used for this (also made by me) to create the actual prefab and put it in the correct folder. This will be made part of this newer tool at some later point.
Secondly, the developer downloads the spreadsheet as a .CSV file and selects it after starting the Import Tool. I tried to automate the download but for some reason the resulting .CSV would contain everything except the spread sheet data…
After that, the tool will go through each row, find the character prefab matching the entry and apply all the data. When all is done, I reapply all the graphical assets to the characters, using a different system, to make sure everything is up to date.
And that’s it! A fully functional character using (almost) zero developer work.
90% of the development work on Toca Life is building new locations, which means you spend a lot of time just putting out the same kind of objects, components and hierarchies again and again and again. I finally took the time a while back, however, to actually make a tool to speed this up.
I first tried making it a window that you slot into your layout, with buttons to spawn different objects. But, this had the problem that you would spend time moving your cursor out of the scene to push buttons, which will add up quite quickly.
So, I completely rewrote it a year later and made it part of the right-click menu instead and fleshed it out with more useful objects than before. I also made it so if you can right-click another object, the new object will be childed to that one, which is essential for the way we build scenes.
I would say this has sped up my scene-building work with maybe, 50%?