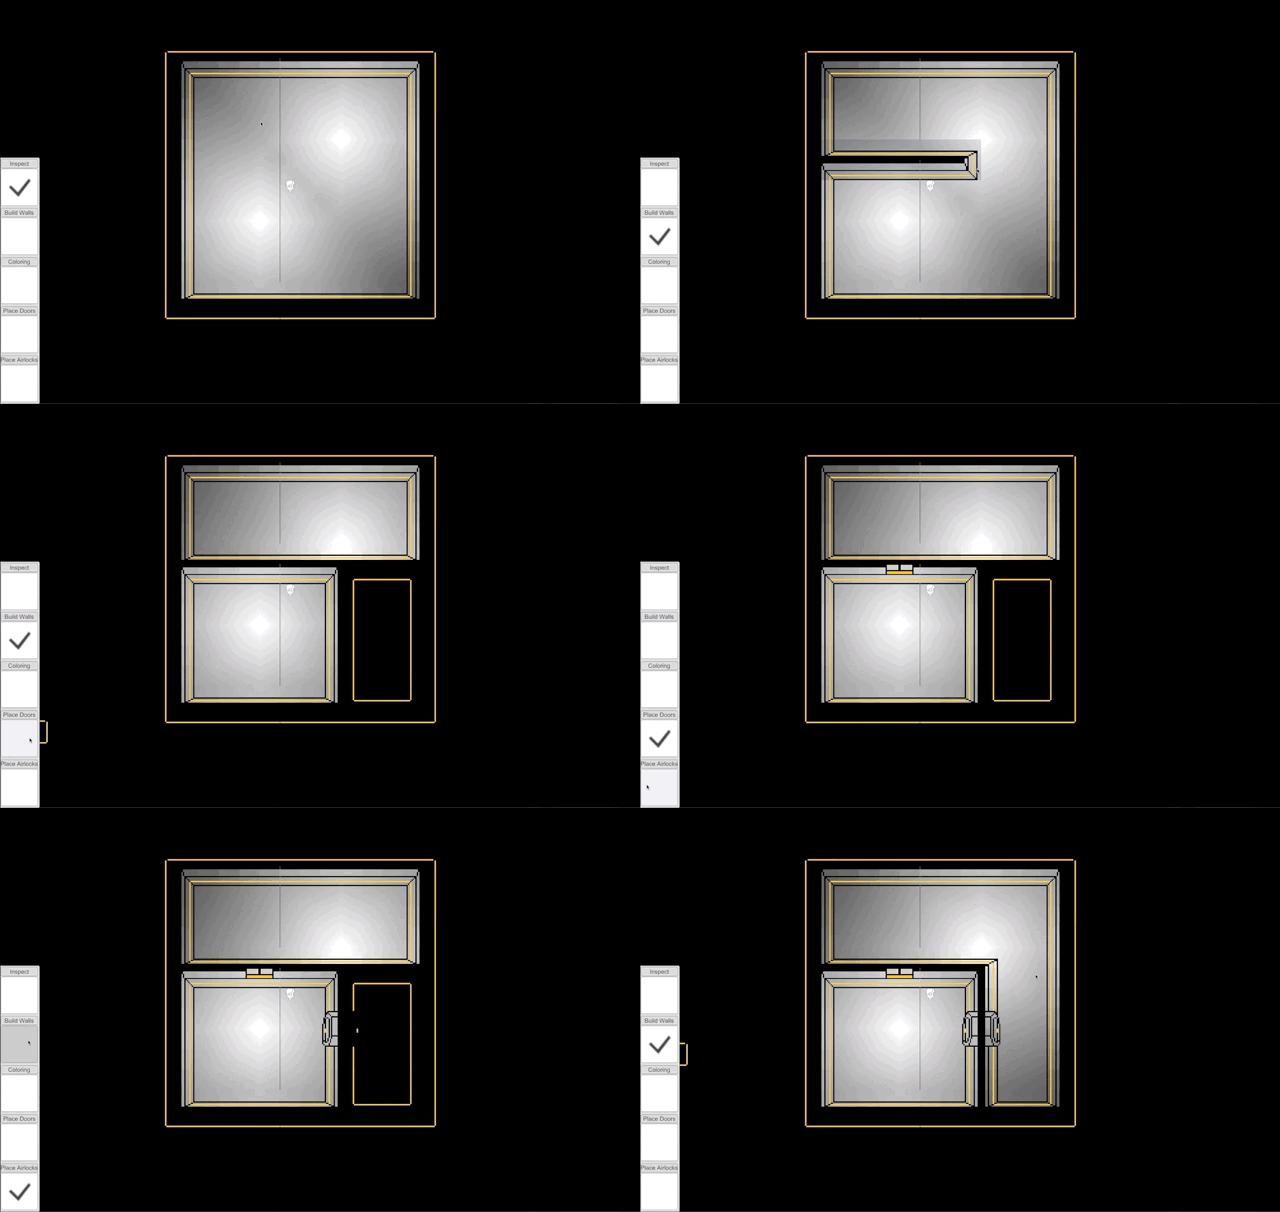
Building Tool
In the code, the grid is represented as a simple array like you’d expect, with each entry representing the corners of the tiles. In Unity, however, the grid is a large mesh where four vertices make up each corner and one vertex for the center of each tile. This is so I can store all textures in one spritesheet and assign UVs to each tile without interfering with neighboring tiles, while the center vertex simply helps with smoothing out the lighting and another, unfinished, system for chemicals moving across the grid.
The build tool snaps to the corners of the tiles and sets whether or not that corner has a wall - note that the four vertices per corner do not matter in this case, that is only for graphical purposes. At the end of each frame, I modify the UVs of the mesh to display the correct parts of the sprite sheet.
Originally I was very adamant that the player must be able to build diagonal walls - no similar game I’ve seen supports it, so why not? As it turns out, it is… very complicated. Not difficult, per se, just annoying. The first problem is that it increases the amount of code and possibilities by an order of magnitude. The second problem is the unless you’re okay with a 100% top-down art style, you can not make a diagonal wall while keeping the graphical asset within a tile. I had this solved for a long time; before the current iteration of the grid, I had each tile be its own mesh. Then I could simply extend that mesh upwards and sort upper tiles further back, so that the tiles were placed like shingles on a roof, thus enabling tile graphics to stretch above its upper neighbor. The problem, again, is that this adds a lot of complexity, and while struggling with the lighting tool, I realized I could make my life a lot easier by simplifying the grid - and so, the diagonal walls had to go.
As you can see, you can also place doors and airlocks which can only be placed on existing walls. These also support animation for when a character is passing through.

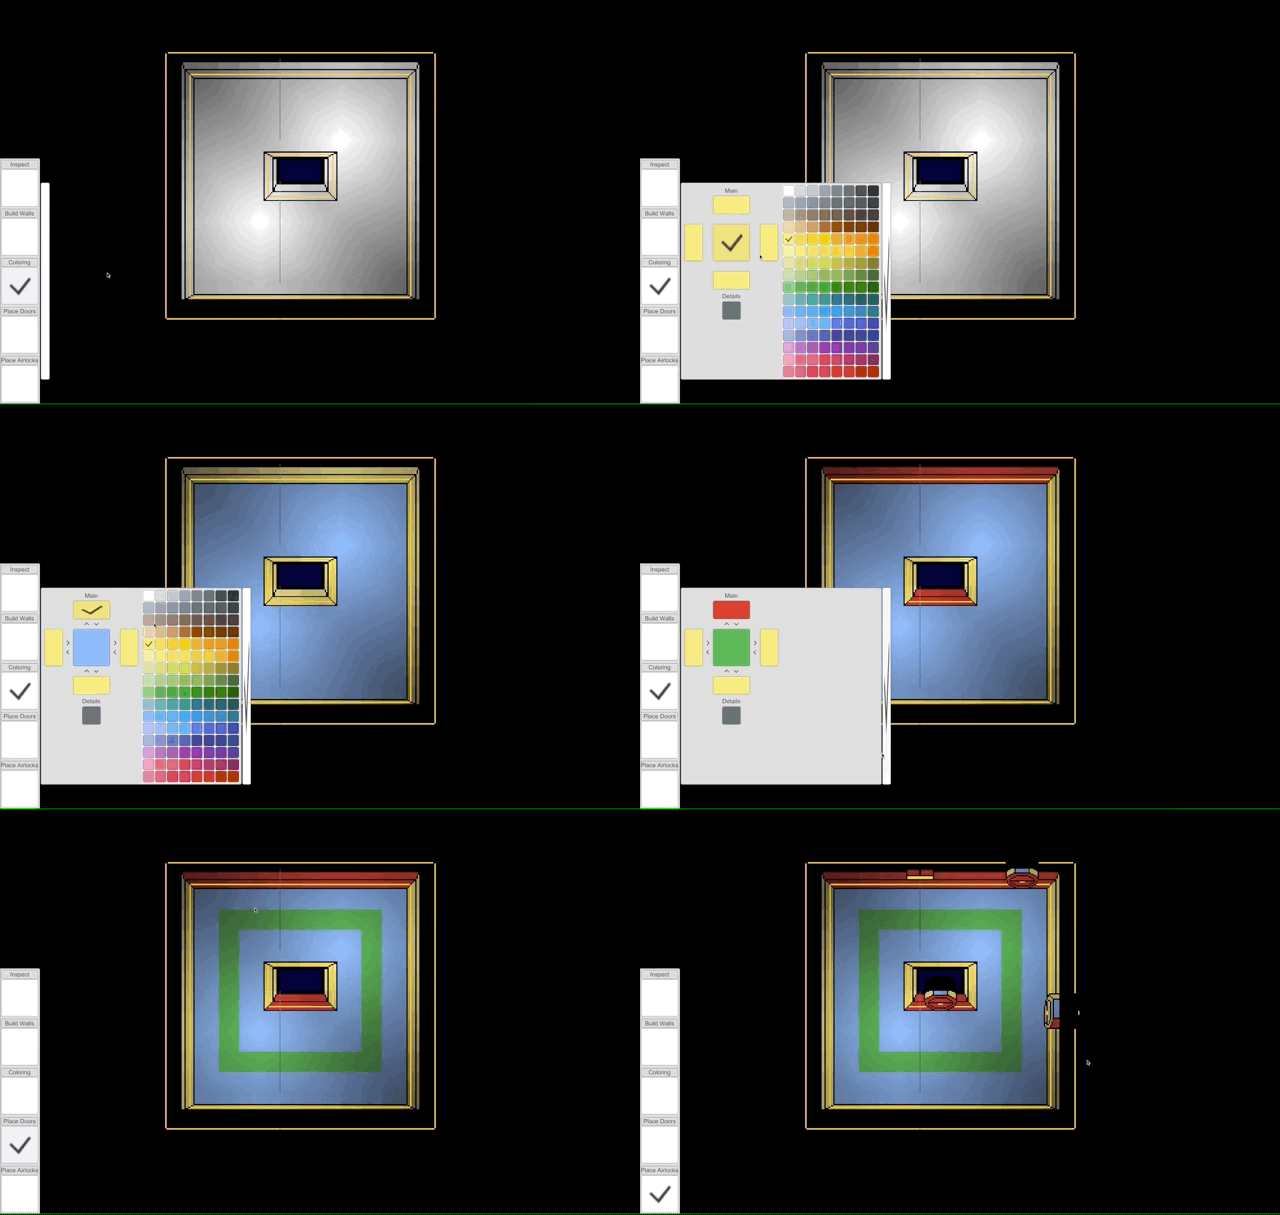
Coloring Tool
I wanted the user to be able to paint any surface they had laid out - seeing how there’s no 3D surfaces this presented an interesting problem. This tool was also designed before I basically rewrote the grid code from scratch, so it’s literally designed around some technical limitations that no longer exist…
As I mentioned above, before The Refactoring™ each tile was its own mesh and the visual grid corresponded 1:1 to the grid array handled in code, which does sound like the obvious approach to making a grid - or, at least it did to me. The problem with that approach is that if you then label a tile as a wall and then try to paint or apply lighting to that tile, both sides of the wall will be affected, when what you really want is for colors and lighting to be confined to whatever room they’re actually in. It took a long time before I realized The Refactoring™ wasn’t as big of a project as it first sounded, so I worked around this limitation.
The solution was to add a new texture to the grid which divided up the parts of sprites into different colors depending on their cardinal direction. When the user paints, I could take the index of the color used (128 colors available) and send it to the GPU through the tile’s UVs. Once there, I could check what cardinal direction the current pixel had and apply the selected color. By the way, this is also an excellent training exercise in finding the optimal texture format for your task and preventing floating point precision errors…
There was the obvious annoyance that you couldn’t just paint a wall - you had to also select all the other colors you wanted for stuff on that tile - but my reasoning was that maybe you’ll just paint the room as a whole when you’re done building it.

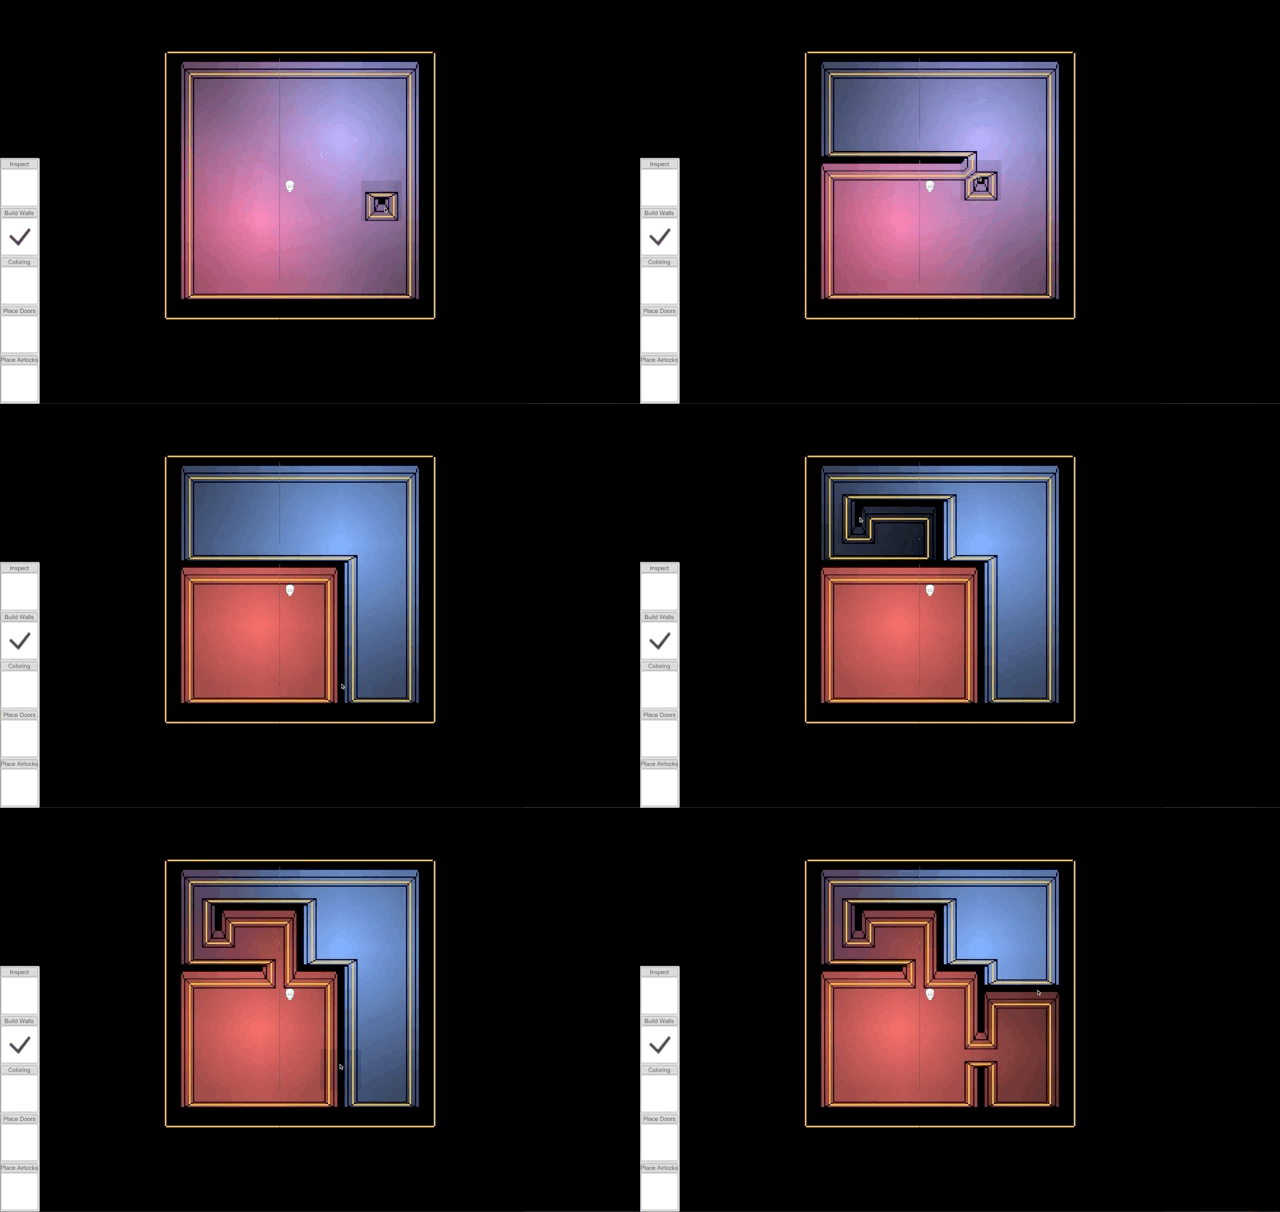
Lighting Tool
I worked on a lighting system for a long time. I had zero experience with anything similar, but it intrigued me so why not?
The first few months I tried different ways of radiating out light values from a tile and even a kind of… poor man’s raytracing, basically raycasting and checking whether the ray hit a wall or not. The results ranged from terrible to maybe-if-you-squint. A constant frustration was that unless I blurred it somehow, the lighting would look really blocky - it works in Minecraft but I wanted something a lot nicer. So, I worked on blurring - that too, looked awful. There was also the problem I mentioned before; if I set a light value on a tile, and a tile can be assigned as a wall, then what prevents the lighting from being on both sides of the wall? This back-and-forth approach with different ideas and no one to bounce ideas with took up about a year and when I finally thought I had cracked it, worked on that solution for two months and again it failed, I quit.
Six months later, the idea of The Refactoring™ struck me and I went back and tried it out, and lo-and-behold, it made lighting much smoother and the project much more compact. Being away for six months also does a lot to negate the sunk-cost fallacy and helped me to just gut years of work.
I still had one problem though; the lighting looked nice, but the cutoff was pretty sharp around corners, which didn’t look great. And then my little avatar just… walked around a corner. What if lighting could do the same? So, instead of doing some light value calculation, I just made the lamps call the pathfinding algorithm used by characters and… it worked!


